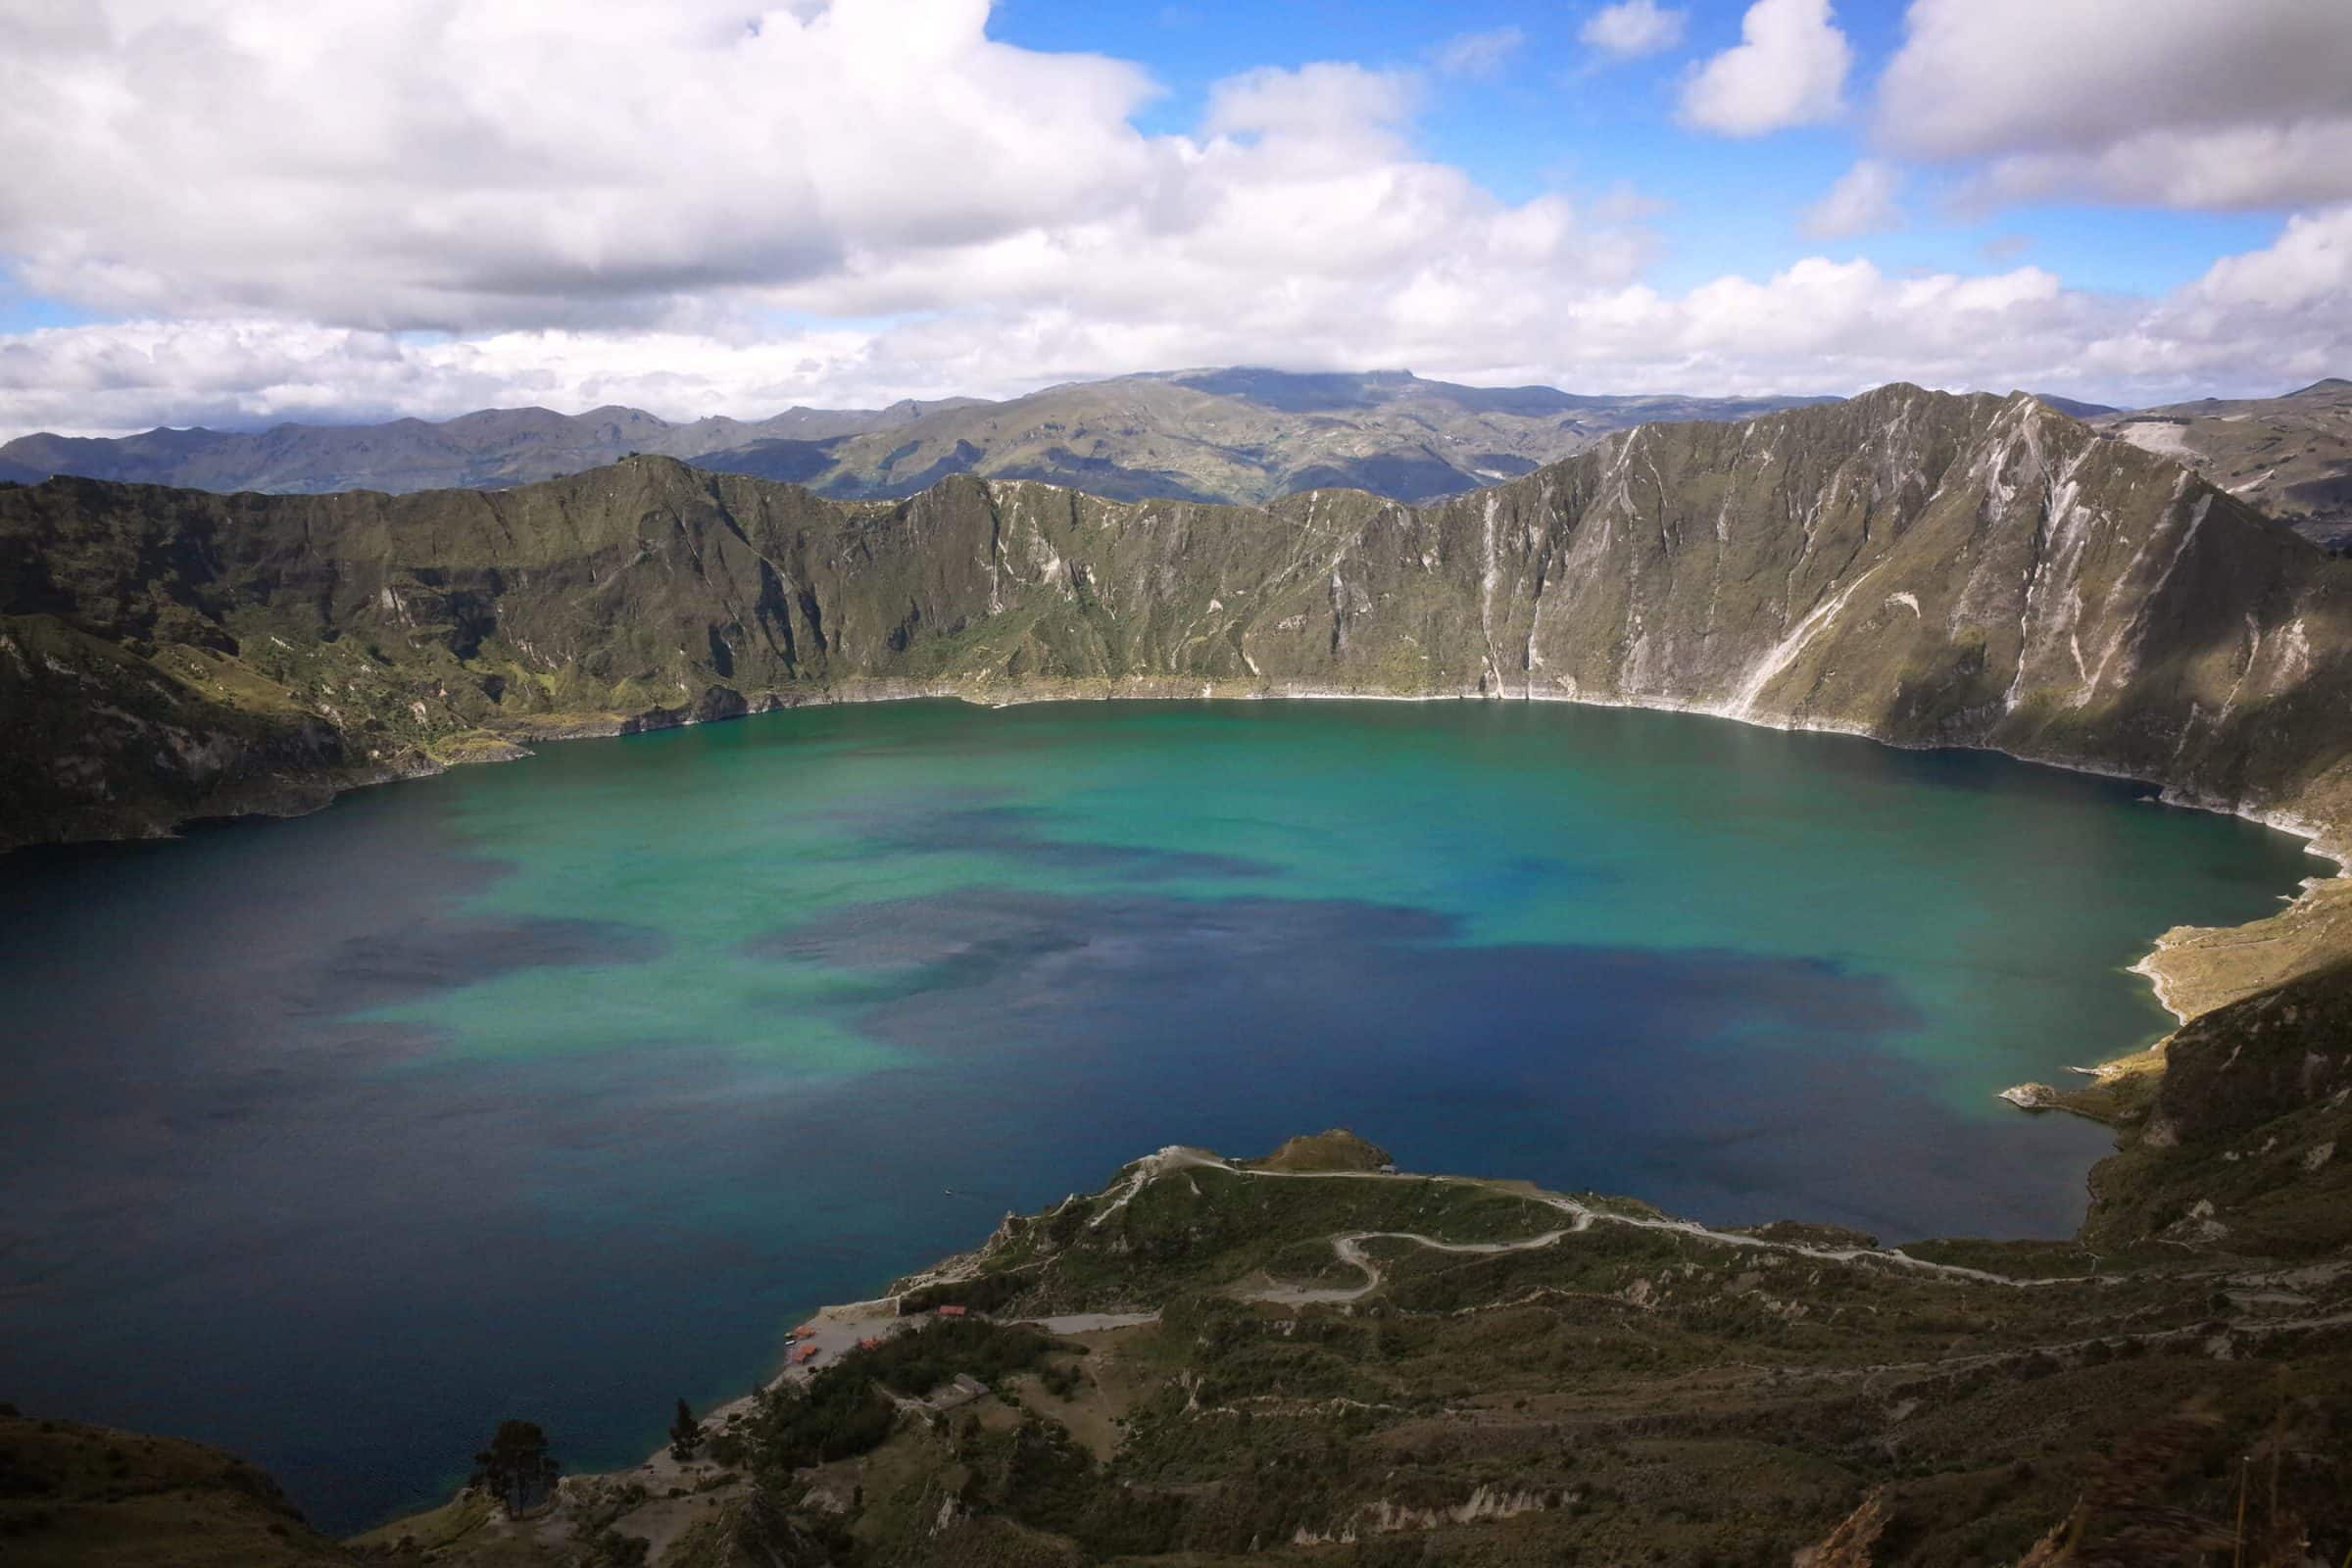
One of the best ways to experience Quilotoa’s wonders is by camping in Quilotoa itself. In the following post, we’ll provide more information on Quilotoa camping. The Quilotoa crater lake and caldera are easily one of the top destinations in Ecuador, and for good reason. On a clear day, when you stand on the lip of the crater, overlooking the lake below and an expansive view in all directions, you can’t help but gawk in wonder.
Reasons why Quilotoa camping should be on your itinerary
There’s nothing quite like camping out in nature, especially in breathtaking locations like that of Quilotoa, ESPECIALLY if camping in Quilotoa.
While camping, you tend to wake up early and are able to appreciate the area and surrounding views in ways most people can’t. Imagine watching the sunrise from the lip of Quilotoa crater! Not only would that make for some amazing photos, but gives you a special sense of tranquility that only sunrises can provide.
When you arrive to Quilotoa, head down the crater before night falls (or a rainstorm hits) and pitch your tent on a sandy patch of shoreline. Expect the night to be really cold, but waking up at the bottom of what was once an active volcano is worth it!
There are also areas in nearby villages, like Chugchilán, where you can camp, though these aren’t right by Quilotoa Crater.
What you need to pack if you want to camp in Quilotoa
If you’re just camping in Quilotoa overnight, all you need is protection from the elements in the form of a water and windproof tent, sleeping bag, camping mat and warm clothes. You’ll be able to eat at the nearby town so a camping stove is only necessary if you want to prepare some tea or coffee before/after sleeping.
Quilotoa is located at about 3,914 m (12,841 ft) so, whether you’re in the crater or at the top, you can expect the weather to be chilly, especially if it starts raining at any given moment. Make sure you’re wearing warm layers, have a very warm and protective jacket and additional water protection. Your sleeping bag should be able to withstand low temperatures.
Here’s a packing list:
- Tent
- Sleeping bag
- Sleeping mat
- All of your cash – there are no ATMs around Quilotoa Crater
- Warm layers (fleece, under armor, gloves, hat) and a windbreaker, it gets cold in this part of the Andes!
- Shoes and socks – bring a reliable pair of shoes and socks, preferably waterproof hiking boots and wick dry socks, and sandals to wear when not hiking
- Sun protection – hat, sunglasses, sunblock, chapstick/lip salve
- Water
- First aid kit – you never know when you might need it!
- Flashlight/headlamp
- Rain protection for yourself and your backpack
- Toilet paper isn’t always available in public toilets. Make sure to have some handy!
- Snacks: trail mix, cookies, chips/crisps, tuna, wraps, chocolate, sandwiches, etc.
- Optional: cooking stove
Our tips and recommendations
Check out our list of tips and recommendations to enjoy your experience the most:
See more on the Quilotoa Loop
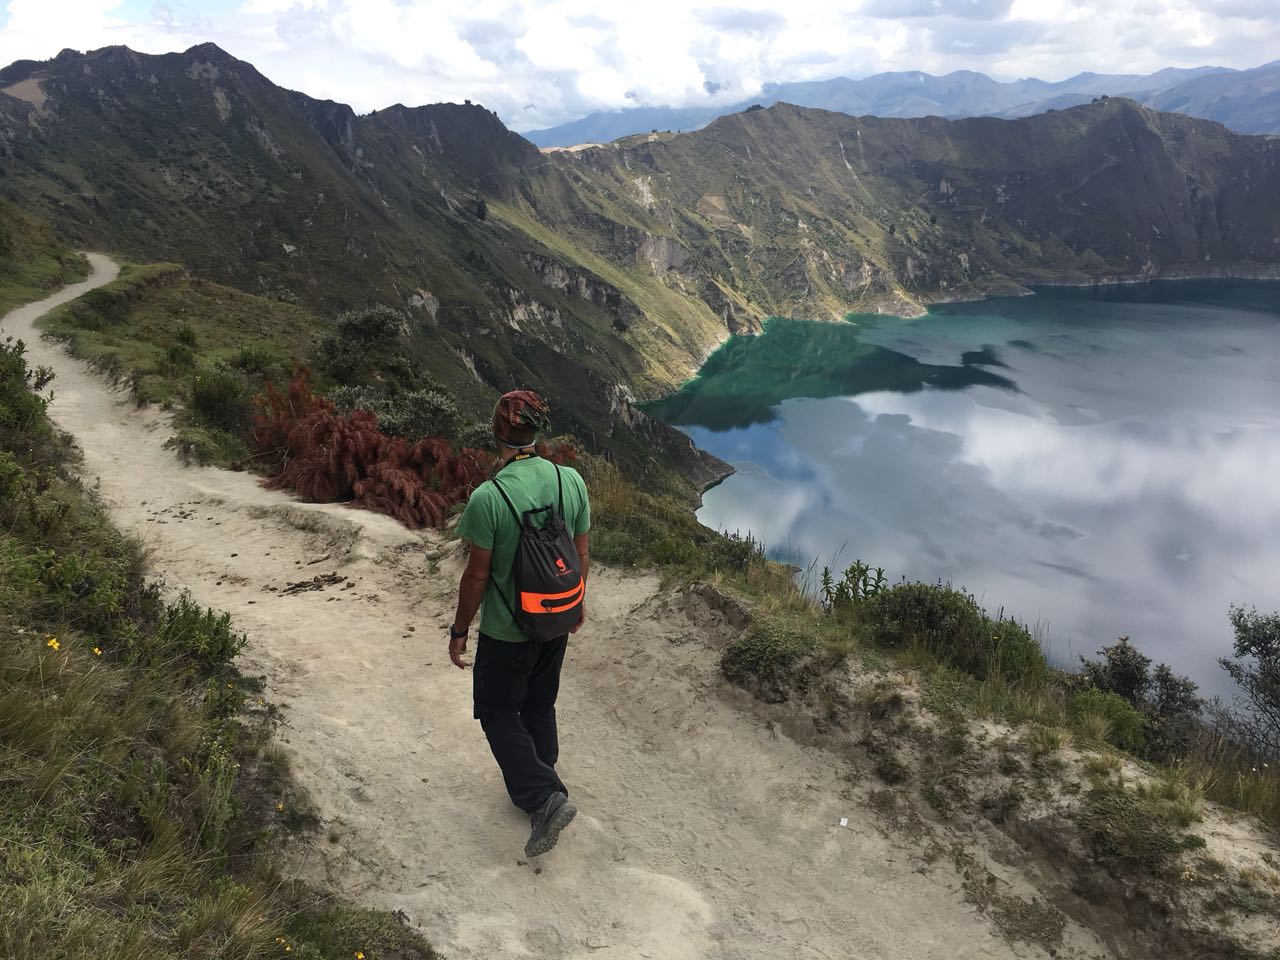
If you’re already planning to camp in Quilotoa, you might want to consider doing all, or part of, the Quilotoa Loop. This is a multi-day trek through a handful of towns in the region, including a stop at the Quilotoa crater lake.
While camping is definitely an option along this route, what makes the route stand out is that you’ll be stopping along various towns where you can grab cheap meals and a cheap bunk bed in most hostels.
In fact, the Quilotoa Loop is especially popular for those that don’t want to have to bring all their gear to Ecuador and carry it to every destination. It’s likely you’ll visit other regions after your exploration of Quilotoa and it might be a hassle to store or carry all your camping gear before and after this segment of your trip.
The best part about the Quilotoa Loop is that it introduces you to other parts of the Quilotoa area and provides a glimpse into what daily life looks like for the inhabitants here.
When to visit Quilotoa
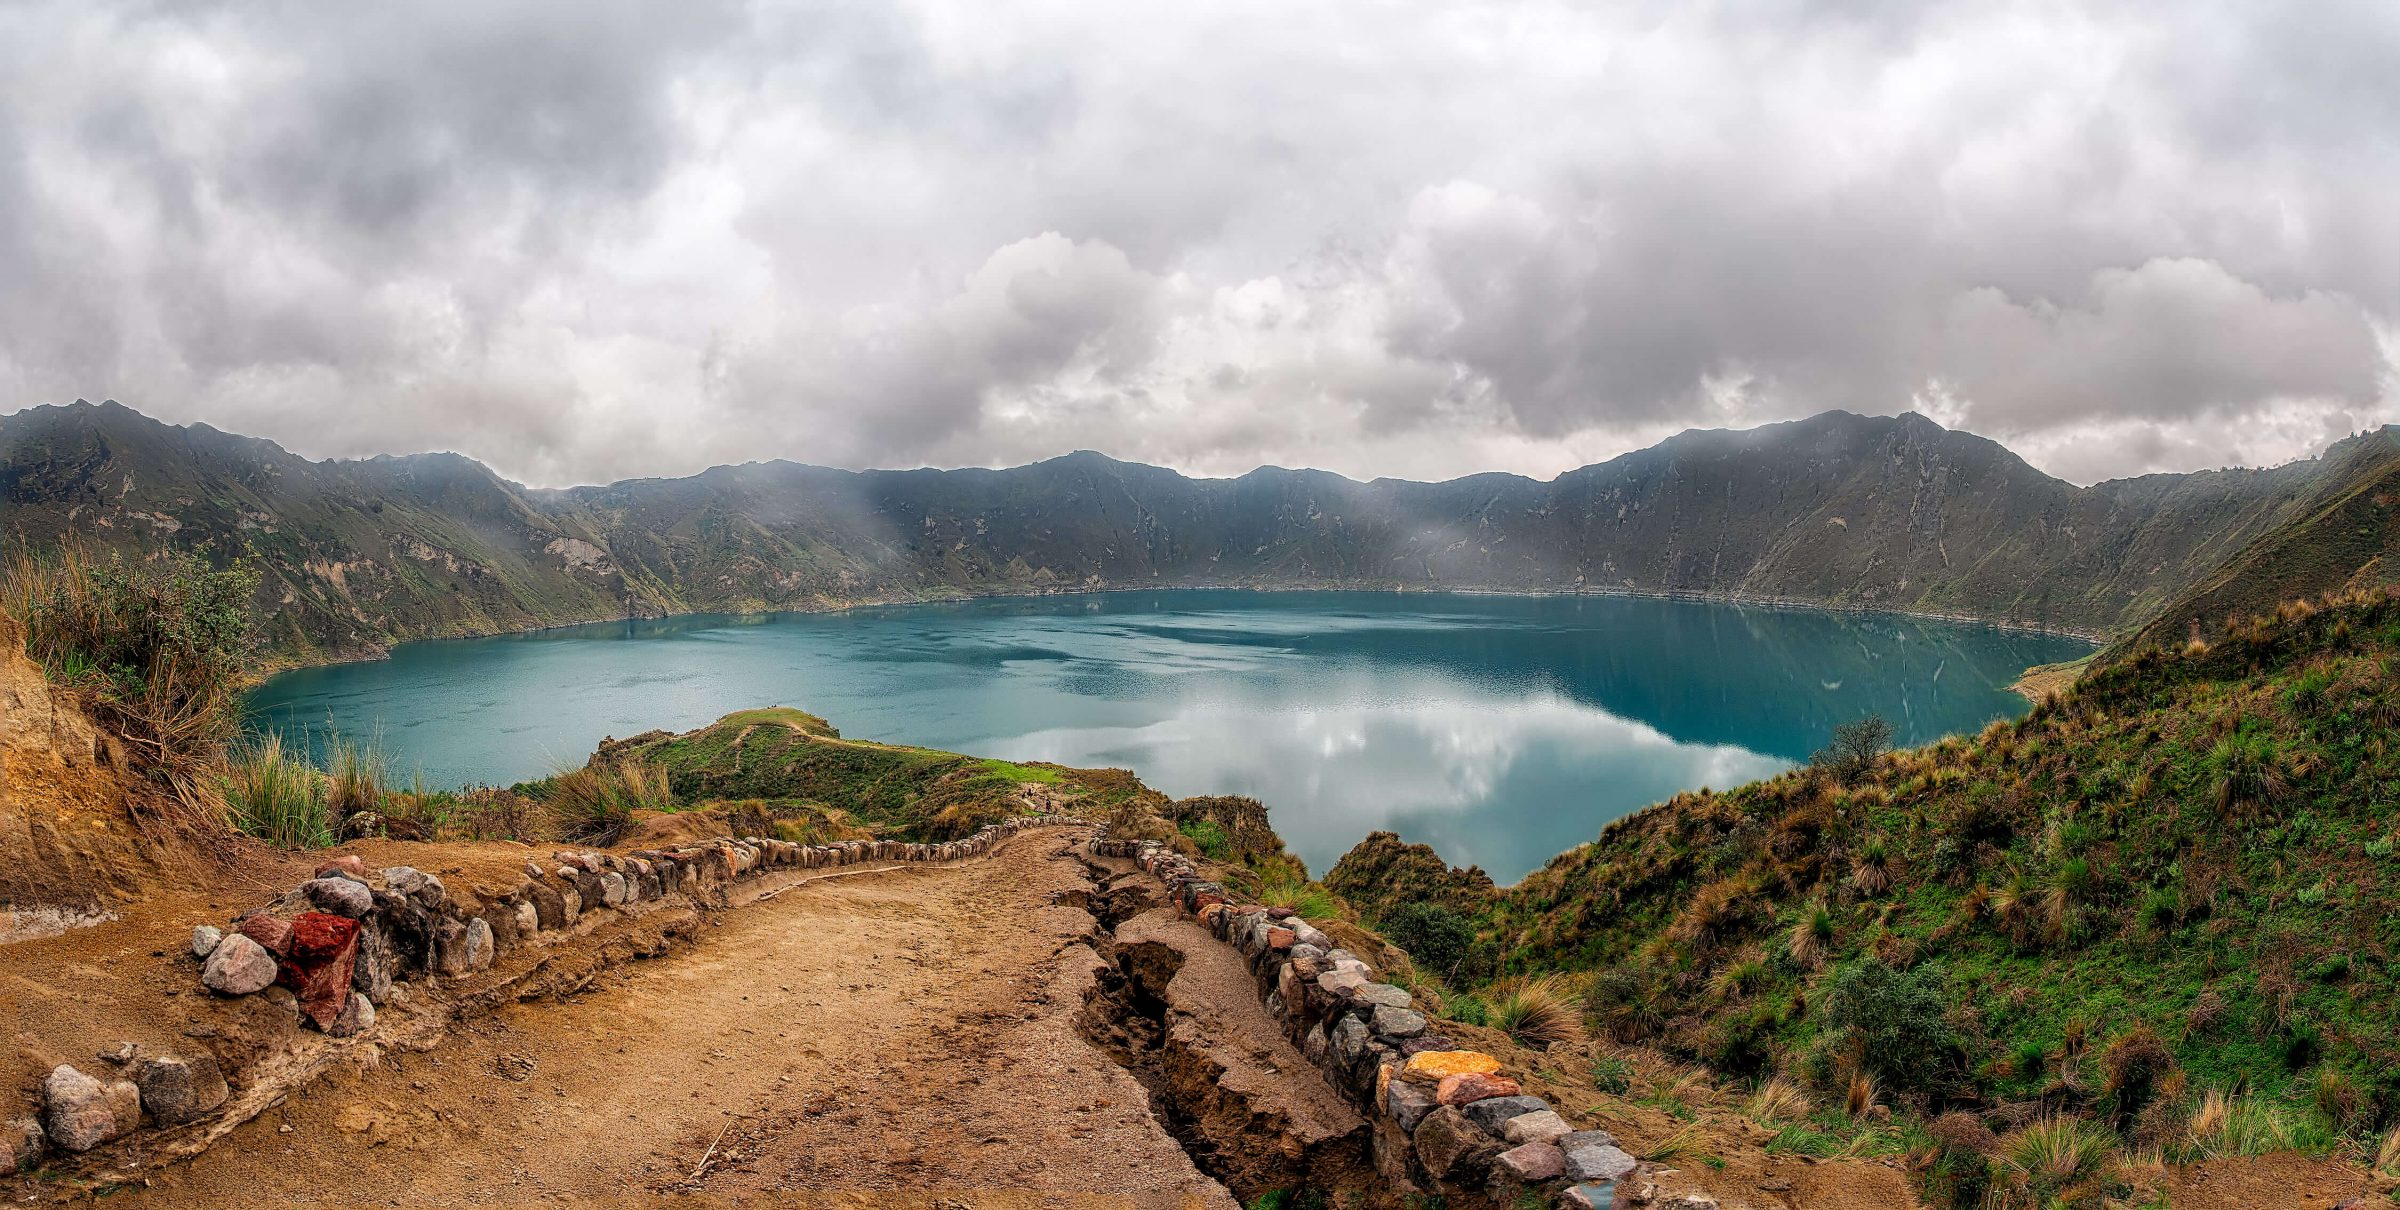
The weather in the Andes is unpredictable. You might arrive at Quilotoa to see a 360 degree view of all the peaks in the region, or you might end up staring at a wall of fog. Your best bet might be to leave from Quito on a clear, sunny day, but then you won’t see the spectacular sunrise, which is possible when you camp out by Quilotoa.
Generally speaking, avoid the months of April and October since those are known to be the rainiest months in the region. That said, there are plenty of sunny mornings during those months so you really never know!
How to get to Quilotoa
If you’re starting from Quito, you can get from Quito to Quilotoa by regular bus, the Wanderbus, or a car rental.
Here are instructions to take the regular bus:
To travel to Quilotoa by regular bus:
- Head to Quitumbe bus terminal in the south of Quito
- Jump on a bus from Quitumbe station in Quito to Latacunga – they leave every 10 minutes and cost $2.50. The trip takes 1 hour.
- In Latacunga, take another bus to Quilotoa Crater. This takes 2 hours and costs $2, but buses only leave a few times a day, starting at 9:30am.
- If you’re only planning on visiting Quilotoa for the day, make sure to ask the bus driver when the last bus leaves from Quilotoa, likely around 3 pm.
Wanderbus Ecuador
Several Wanderbus passes include a stop in Quilotoa. In fact, you can plan to do Cotopaxi AND Quilotoa in just one day, ending in Baños where you can continue your journey. Among these passes are the Jacamar Pass, the WanderPass Express and Tangara Pass.
Traveling with the Wanderbus is ideal for those among you that like flexibility, convenience, and access to the top destination. Most of the activities and places along our Wanderbus routes are likely already on your bucket list!
Happy Wandering.
